This project consisting of the Ecore Diagramm Editor, EMF - Eclipse Modeling Framework and Xtext represents a self made domain specific language with an integrated code generator for mobile applications which communicate with bluetooth low energy devices. With the defined domain specifig language inside this project you are able to describe the behaviour and functionality of a bluetooth low energy device. After describing the device the corresponding code for an Android and iOS application will be generated. The generated code implements the necessary bluetooth low energy functionality for the communication between the application and the device. There is also the possibility to define if an simple user interface should be generated or not.
Table of Contents
- IDE Setup
- Import of the BAG library
- Usage of the project and its domain specific language
- Possible adjustments in the generated code
- Example
IDE Setup
- Download the current version of the Eclipse Installer here
- Install the Eclipse IDE for Java Developers
- After successfully installing the Eclipse IDE you can import the BAG library.
Import of the BAG library
For using the library you have two options. Option one is for developer who want to edit or view the underlying code and the projects defining the domain specific language. Option two is for users who only want to use the defined domain specific language for generating the corresponding code.
Option 1: User
- Download BAG_user.zip
- Inside the Eclipe IDE select Help -> Install New Software… -> Add -> Archive and choose the downloaded zip file
- Install the plugin and restart the Eclipse IDE
- Create a new general project via File -> New -> Project
- Create a textfile inside the project with .bag as the extension
- Accept the question if the project should be converted into an xtext project with Yes
- Inside the .bag file you can describe your bluetooth low energy device and its corresponding features. By saving this file the code for an Android and iOS application will be generated in the appearing src-gen folder
Option 2: Developer
- After the installation of the Eclipse IDE you need to install the necessary additional libraries inside the Eclipse IDE:
- Select Help -> Install New Software… choose All available sites in the Work with field and search for the libraries.
- Ecore Diagramm Editor (SDK)
- EMF - Eclipse Modeling Framework SDK
- Xtext Complete SDK
- Download BAG_developer.zip or clone the repository
- Inside the Eclipse IDE select File -> Import… -> General -> Achrive File and choose the downloaded zip file
- After successfully importing the project you can use the BAG library
- If there are any errors displayed you need to edit some settings
- Open Window -> Preferences -> Target Platform -> Running platform (active) and choose Edit
- In the Environment tab edit the Operating System and Windowing System regarding your installed operating system
- E.g. for Windows you have to select Win32 and x86_64 as Architecture
Usage of the project and its domain specific language
After successfully creating a project, like described above, you can use the domain specific language. The domain specific language consists of keywords and brackets like { and }. The editor in which you are using the domain specific language supports auto completion (by pressing Ctrl + Spacebar) and gives you feedback when something is missing or a wrong input has been done.
- With the keyword App you create the main element of the application. This element needs a name defined like this ”<name>”. For the App element and every other element you need to open { and close } these brackets.
- Inside the App element you need to declare the package name of the application by using the packageName attribute and defining its value like this ”<packageName>”.
- Also inside the App element you need to create an Sensor element. The Sensor element needs a name defined like this ”<name>” and you need to open and close the typical element brackets { }.
- Inside of the Sensor element you need to create at least one (you can create as much as you want) Service element. An Service element needs a name defined like this ”<name>” and you need to open and close the typical element brackets.
- An Service element has an attribute called uuid which is defined like this ”<uuid>”.
- Also there needs to be at least one Characteristic element created inside the Service element.
- An Characteristic element has an uuid-, dataType-, read-, write- and notification-attribute. There is also the possibility to add an UiElement element to define if an provisionally ui element should be created for it.
- Finally you can add an MacFilter- and an NameFilter-element inside the App element to enable the corresponding feature.
Here is an example of such an instance:
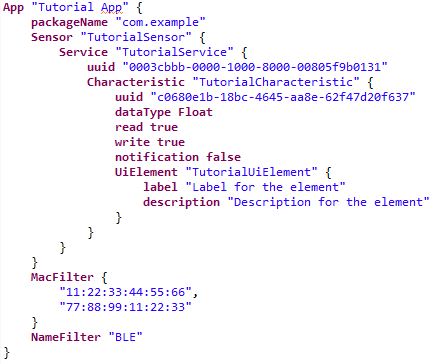
In this example the application is called Tutorial App and the package name is defined as com.example. The Sensor element is named TutorialSensor and there is one Service element added with the name Tutorial Service. The uuid of the Service is 0003cbbb-0000-1000-8000-00805f9b0131. The Service element has only one Characteristic element named TutorialCharacteristic. The uuid of the Characteristic is c0680e1b-18bc-4645-aa8e-62f47d20f637, the dataType is set to Float, the read and write options are set to true and the notification option is set to false. There is also one UiElement added to the Characteristic element leading to the creation of ui elements for that Characteristic. In the last few lines there is a MacFilter with the two example MAC-addresses 11:22:33:44:55:66 and 77:88:99:11:22:33 defined and a NameFilter with the expression BLE. In this example the application would only list bluetooth low energy devices matching the defined MAC-addresses and the defined NameFilter.
After saving the domain specific language file (.bag) the following structure should be generated:
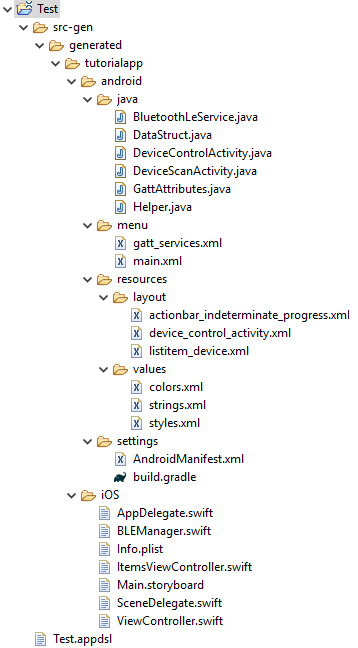
You can see there is a folder created with the name of the application. There is one folder for the Android and one for the iOS related code. The folder structure giving you a hint where you need to import the files inside the corresponding IDE (Android Studio and Xcode).
Possible adjustments in the generated code
iOS
BLEManager.swift
Inside the didUpdateValueFor-method there is a TODO-statement for every defined characteristic. At this point you can add your own code to handle the received data and do a conversion of the incoming data if needed. In the generated code version the first byte of the incoming data is used.
ViewController.swift
If you have defined characteristics with the write-option set to true and also decided to create an ui-element, than you can add your own code inside the writeTextField…-methods. There is a TODO-statement where you can add code to receive the input from the corresponding TextField and convert it if necessary.
Android
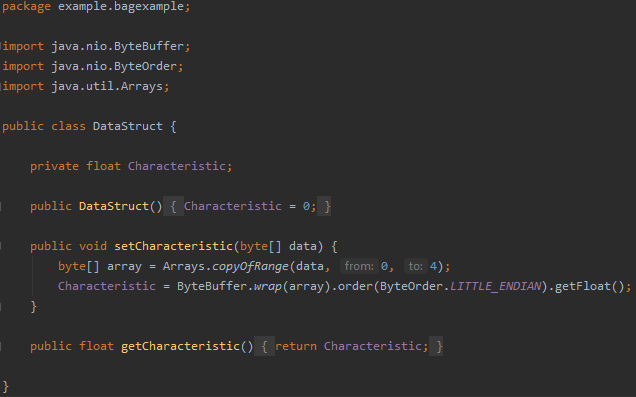
DataStruct.java
Inside every set-method there is a TODO-statement. At this point you can add your own code to handle the received data and do a conversion of the incoming data if needed. In the generated code version the first byte of the incoming data is used.
Helper.java
In every writeCharacteristic-method there is a TODO-statement. At this point you can add your own conversion method or adjust the already existing ones.
Example
For an example application we are using the CY8CKIT-042-BLE-A Bluetooth Low Energy 4.2 Compliant Pioneer Kit by Cypress. There are several example configurations available for this kit. With these configurations the kit behaves like a real working BLE device with it’s defined functionality.
In this example we are using a configuration which has only one defined service and characteristic. The characteristic will send values of one sine wave as float 32 values (HEX coded) via notification. For using the BAG library and it’s DSL we need information of the defined characteristic like the uuid and the data type of the incoming data. So we got the following configuration given for our example:
- Service UUID: 0003cbbb-0000-1000-8000-00805f9b0131
- Characteristic UUID: c0680e1b-18bc-4645-aa8e-62f47d20f637
- Data Type: Float 32
- Interaction via: Notification
We are starting by using the BAG DSL to define the given information:
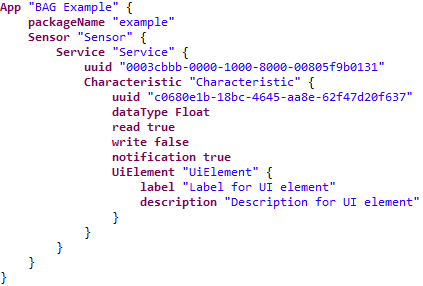
These are all the information needed for the initial generation of the application code. We also decide to generate an ui element for the defined characteristic. By saving the file the following files will be generated:
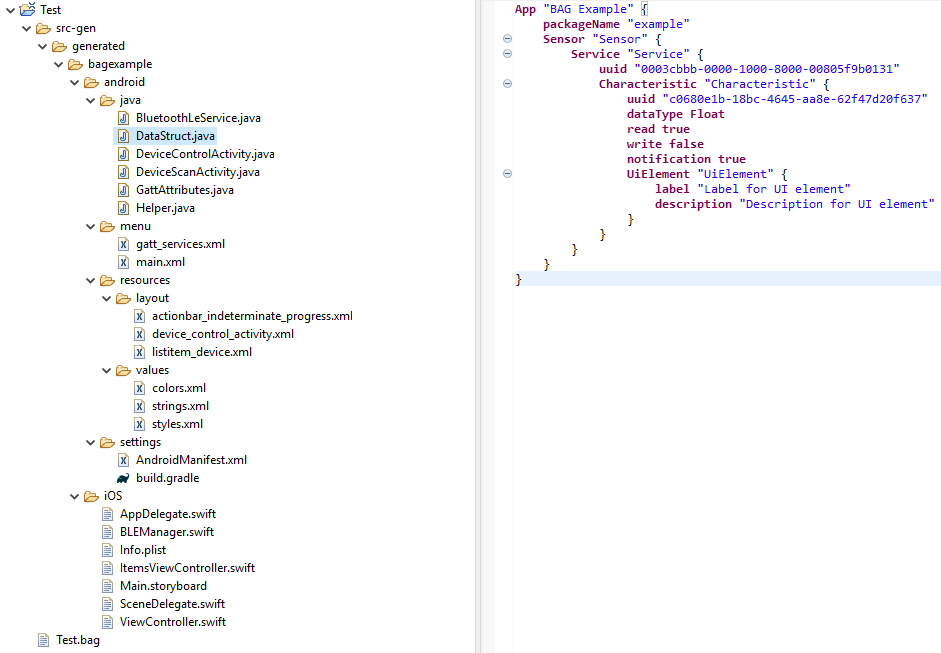
Now we can create the projects in the corresponding IDE (Android Studio or Xcode).
Android
- Create a new project
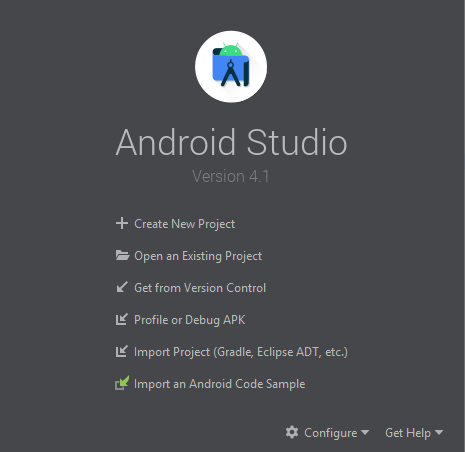
- Select No Activity
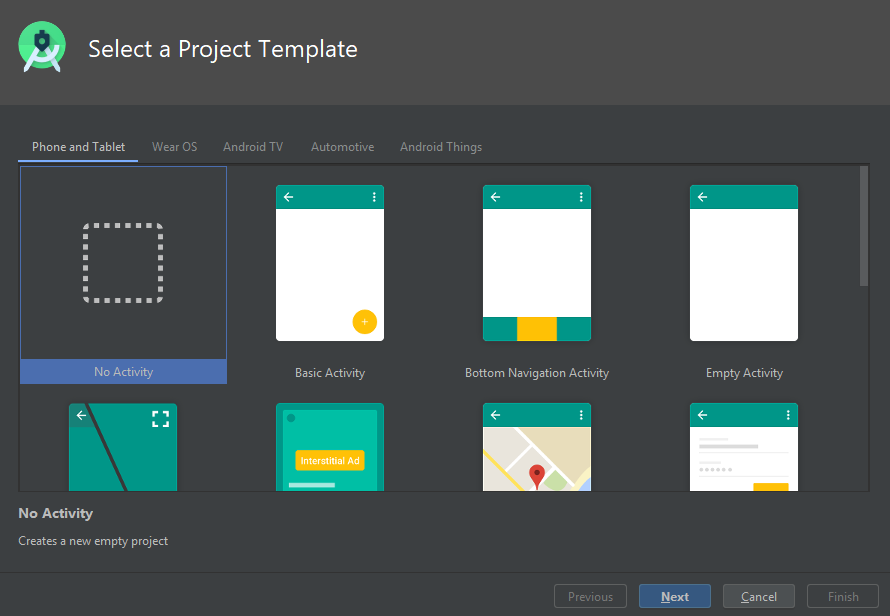
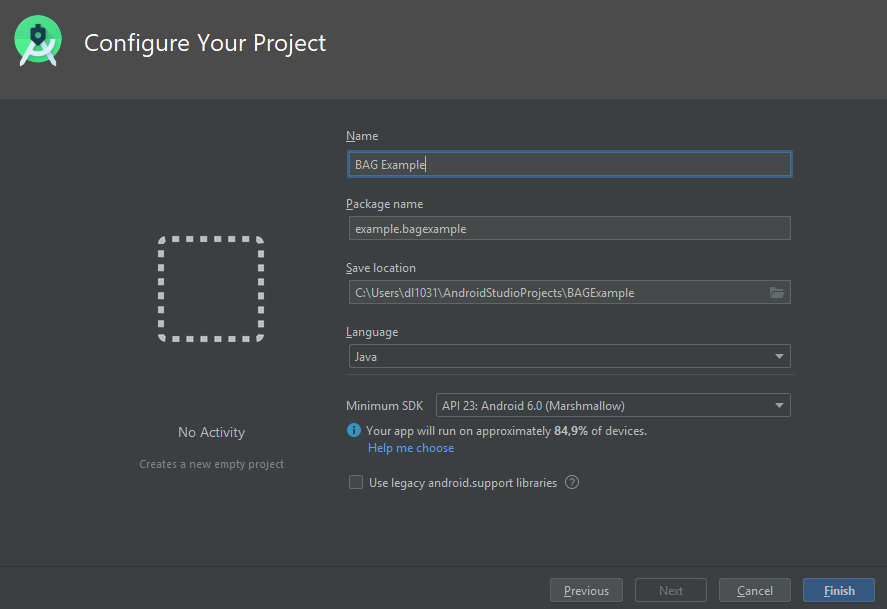
- Enter the defined project and package name
- Replace the AndroidManifest.xml and build.gradle file with the generated one and add all the other files into the correct directory
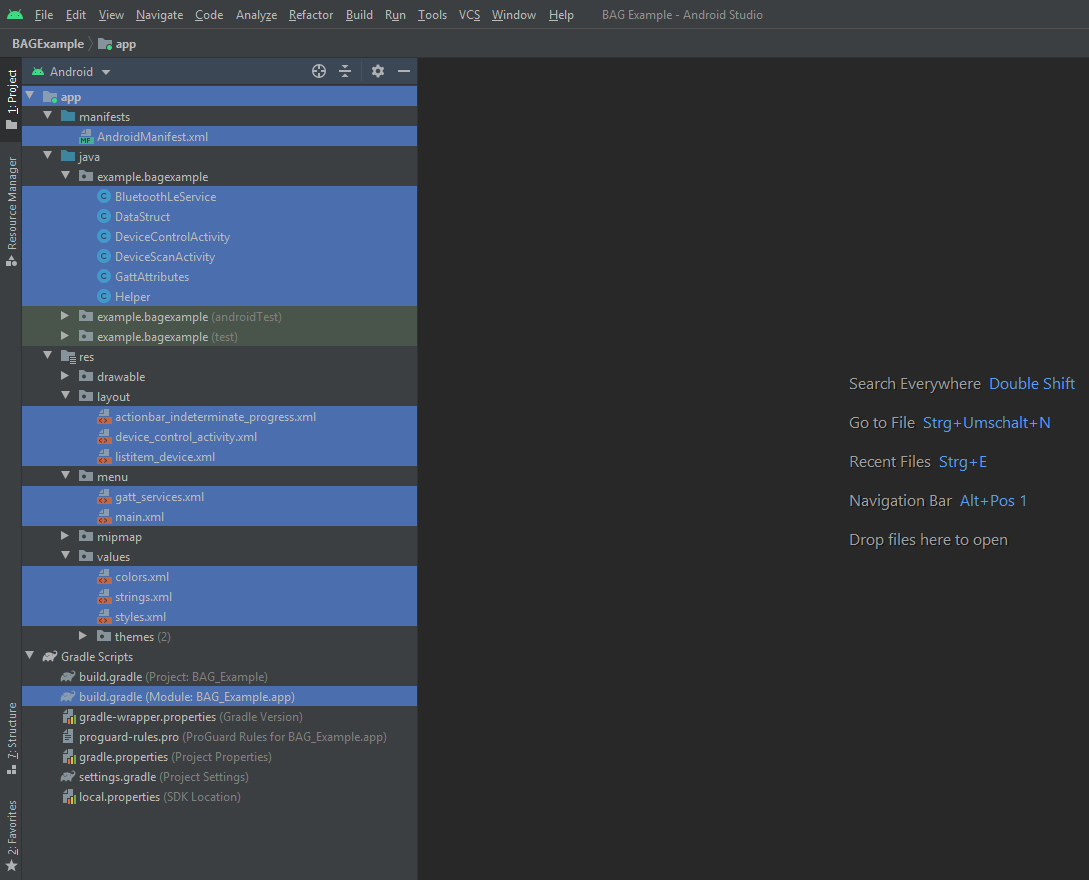
- Search for the defined TODO statements and edit the one in the DataStruct class to the following
- Connect your mobile device and run the application on it
The application will start with the DeviceScanActivity in this view the application search for nearby BLE devices and lists them in the displayed list
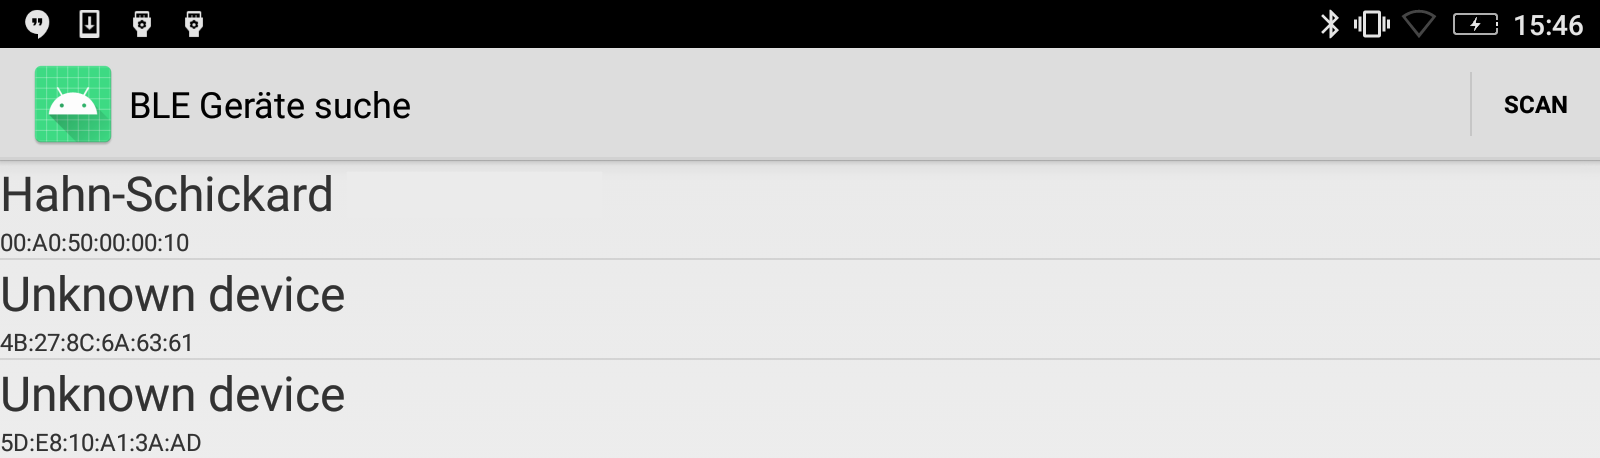
By clicking on one of the entries the application will start the connection progress with the selected device and switches to the DeviceControlActivity
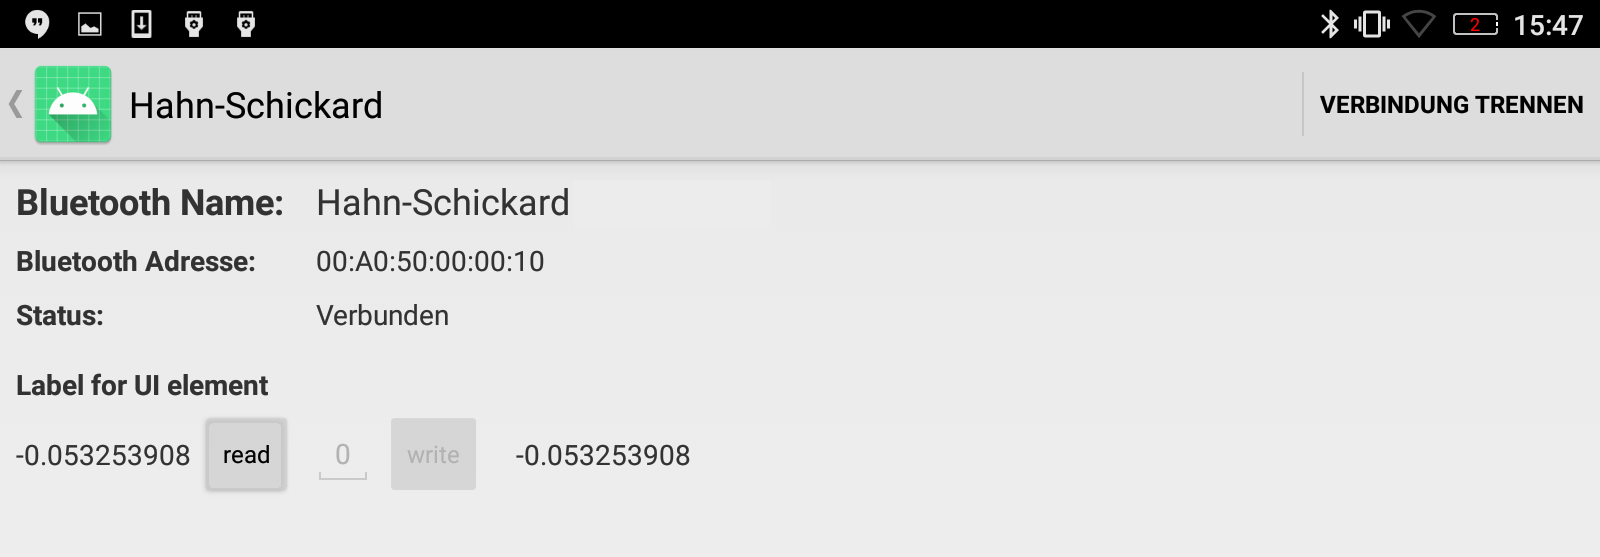
In this view all the given information and defined ui elements are displayed. Here you can interact with the connected device. On the left there is the read value and button displayed. By clicking the button you send a read command to the device and the response will be displayed in the textfield to the left. The write editfield and button is grayed out because the write option was set to false. On the right there is the textfield which displays the incoming notification value.
That’s it! You have an working Android application ready to interact and communicate with your BLE device.
iOS
- Create a new project
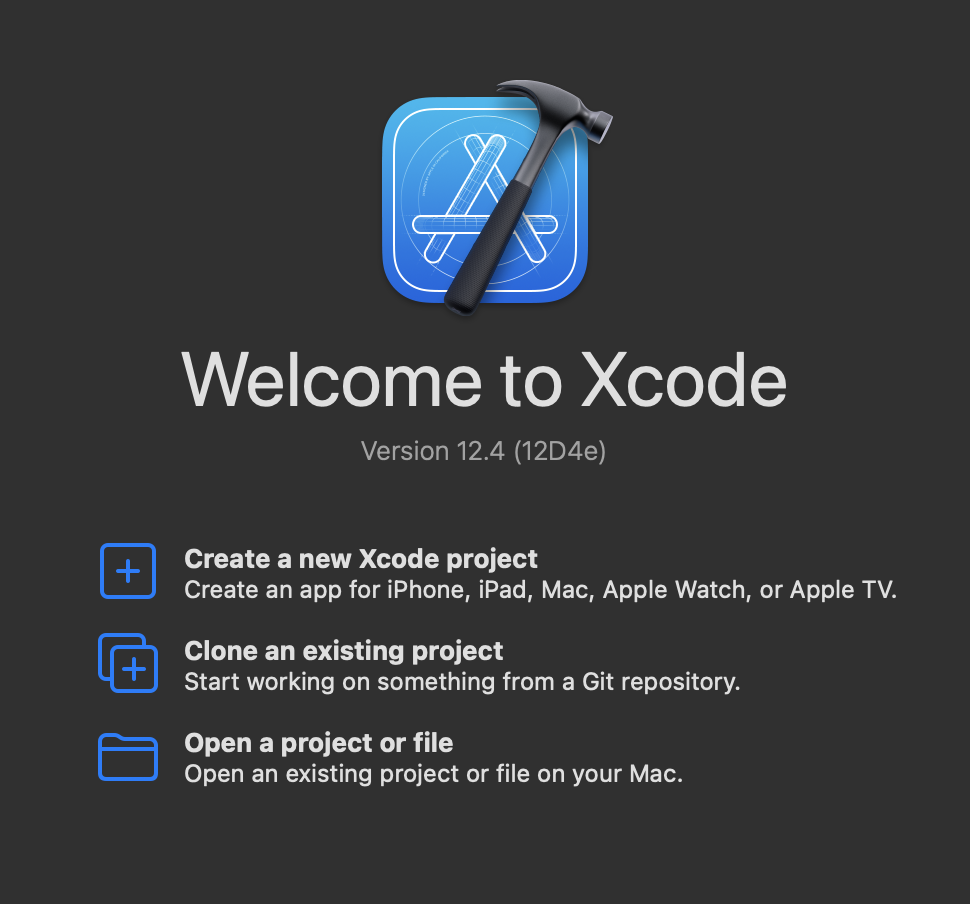
- Select App
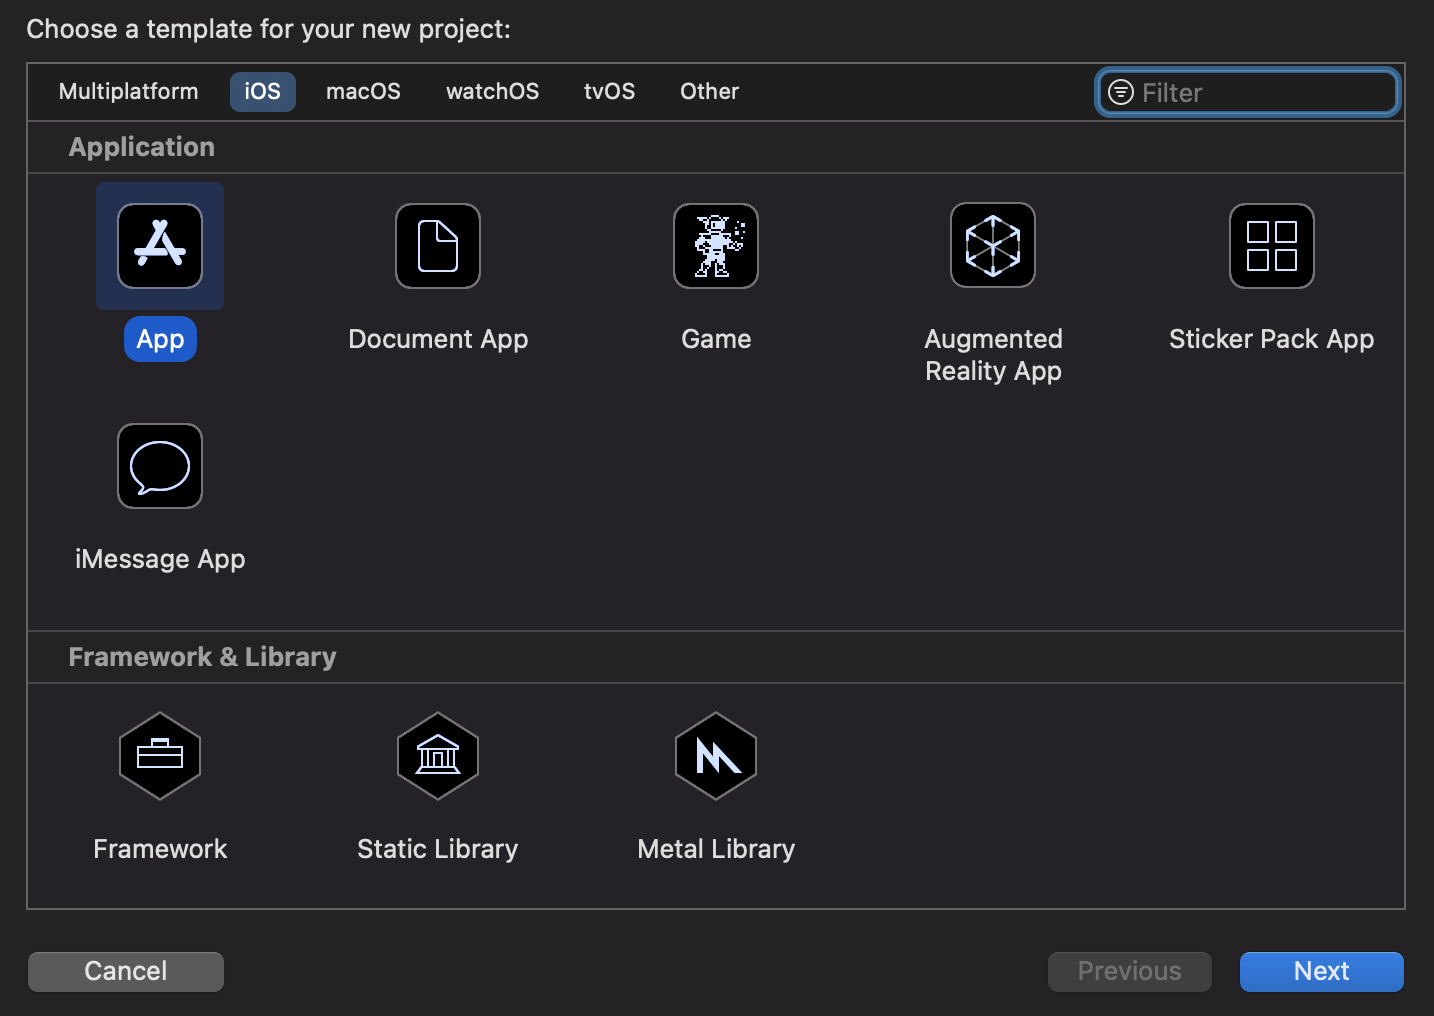
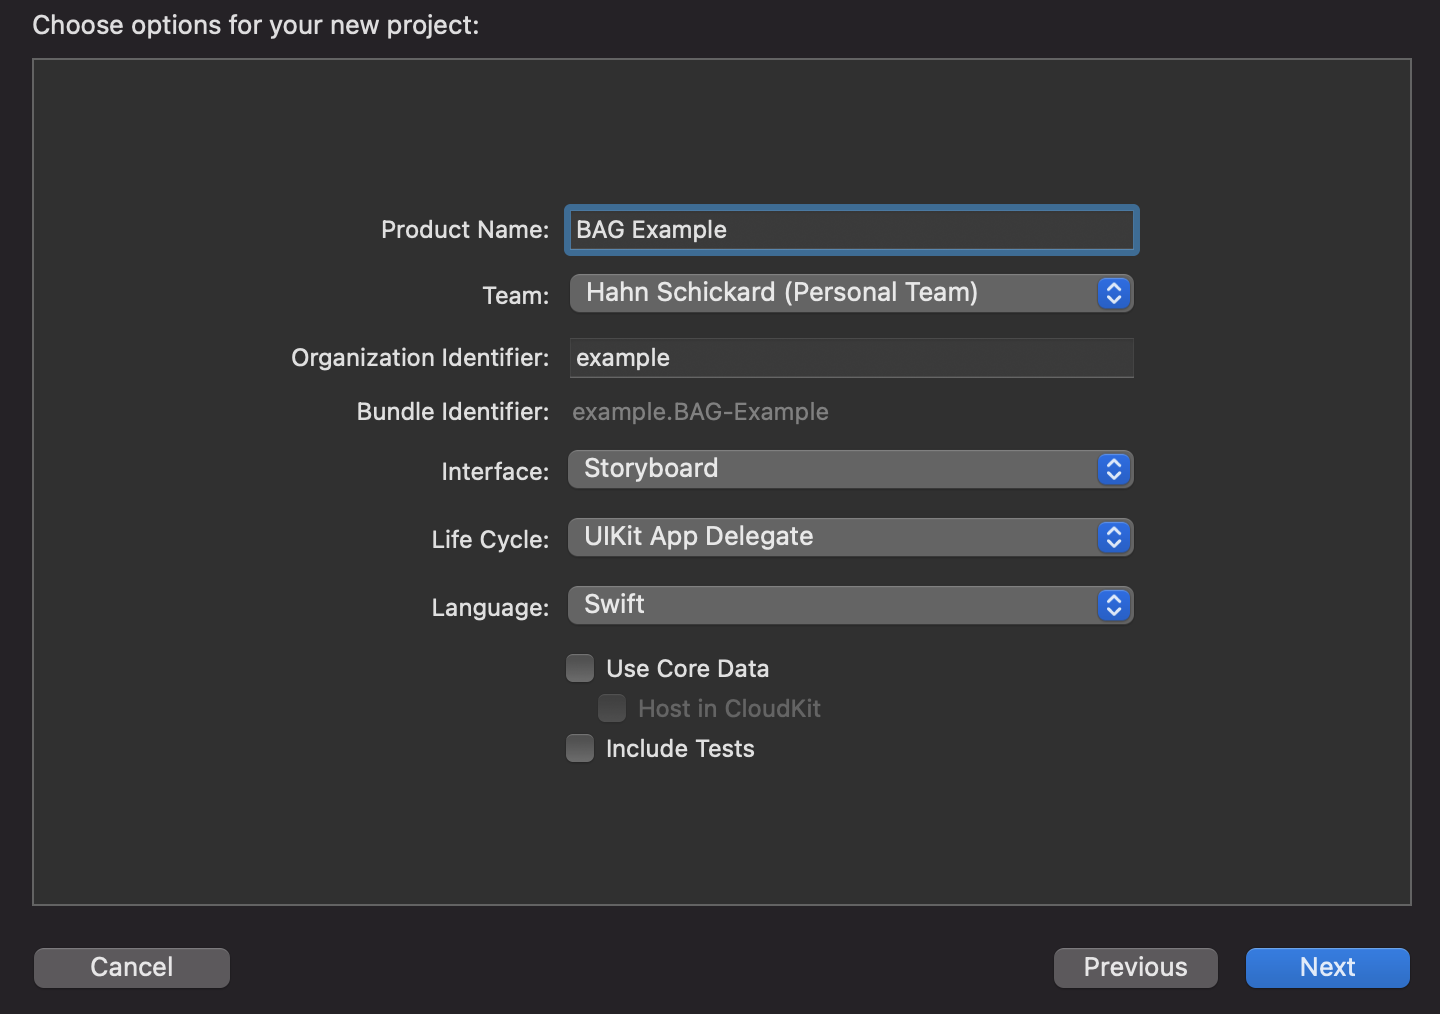
- Enter the defined project name and select the shown options
- Now copy the generated files from the BAG library to the project folder of the created project
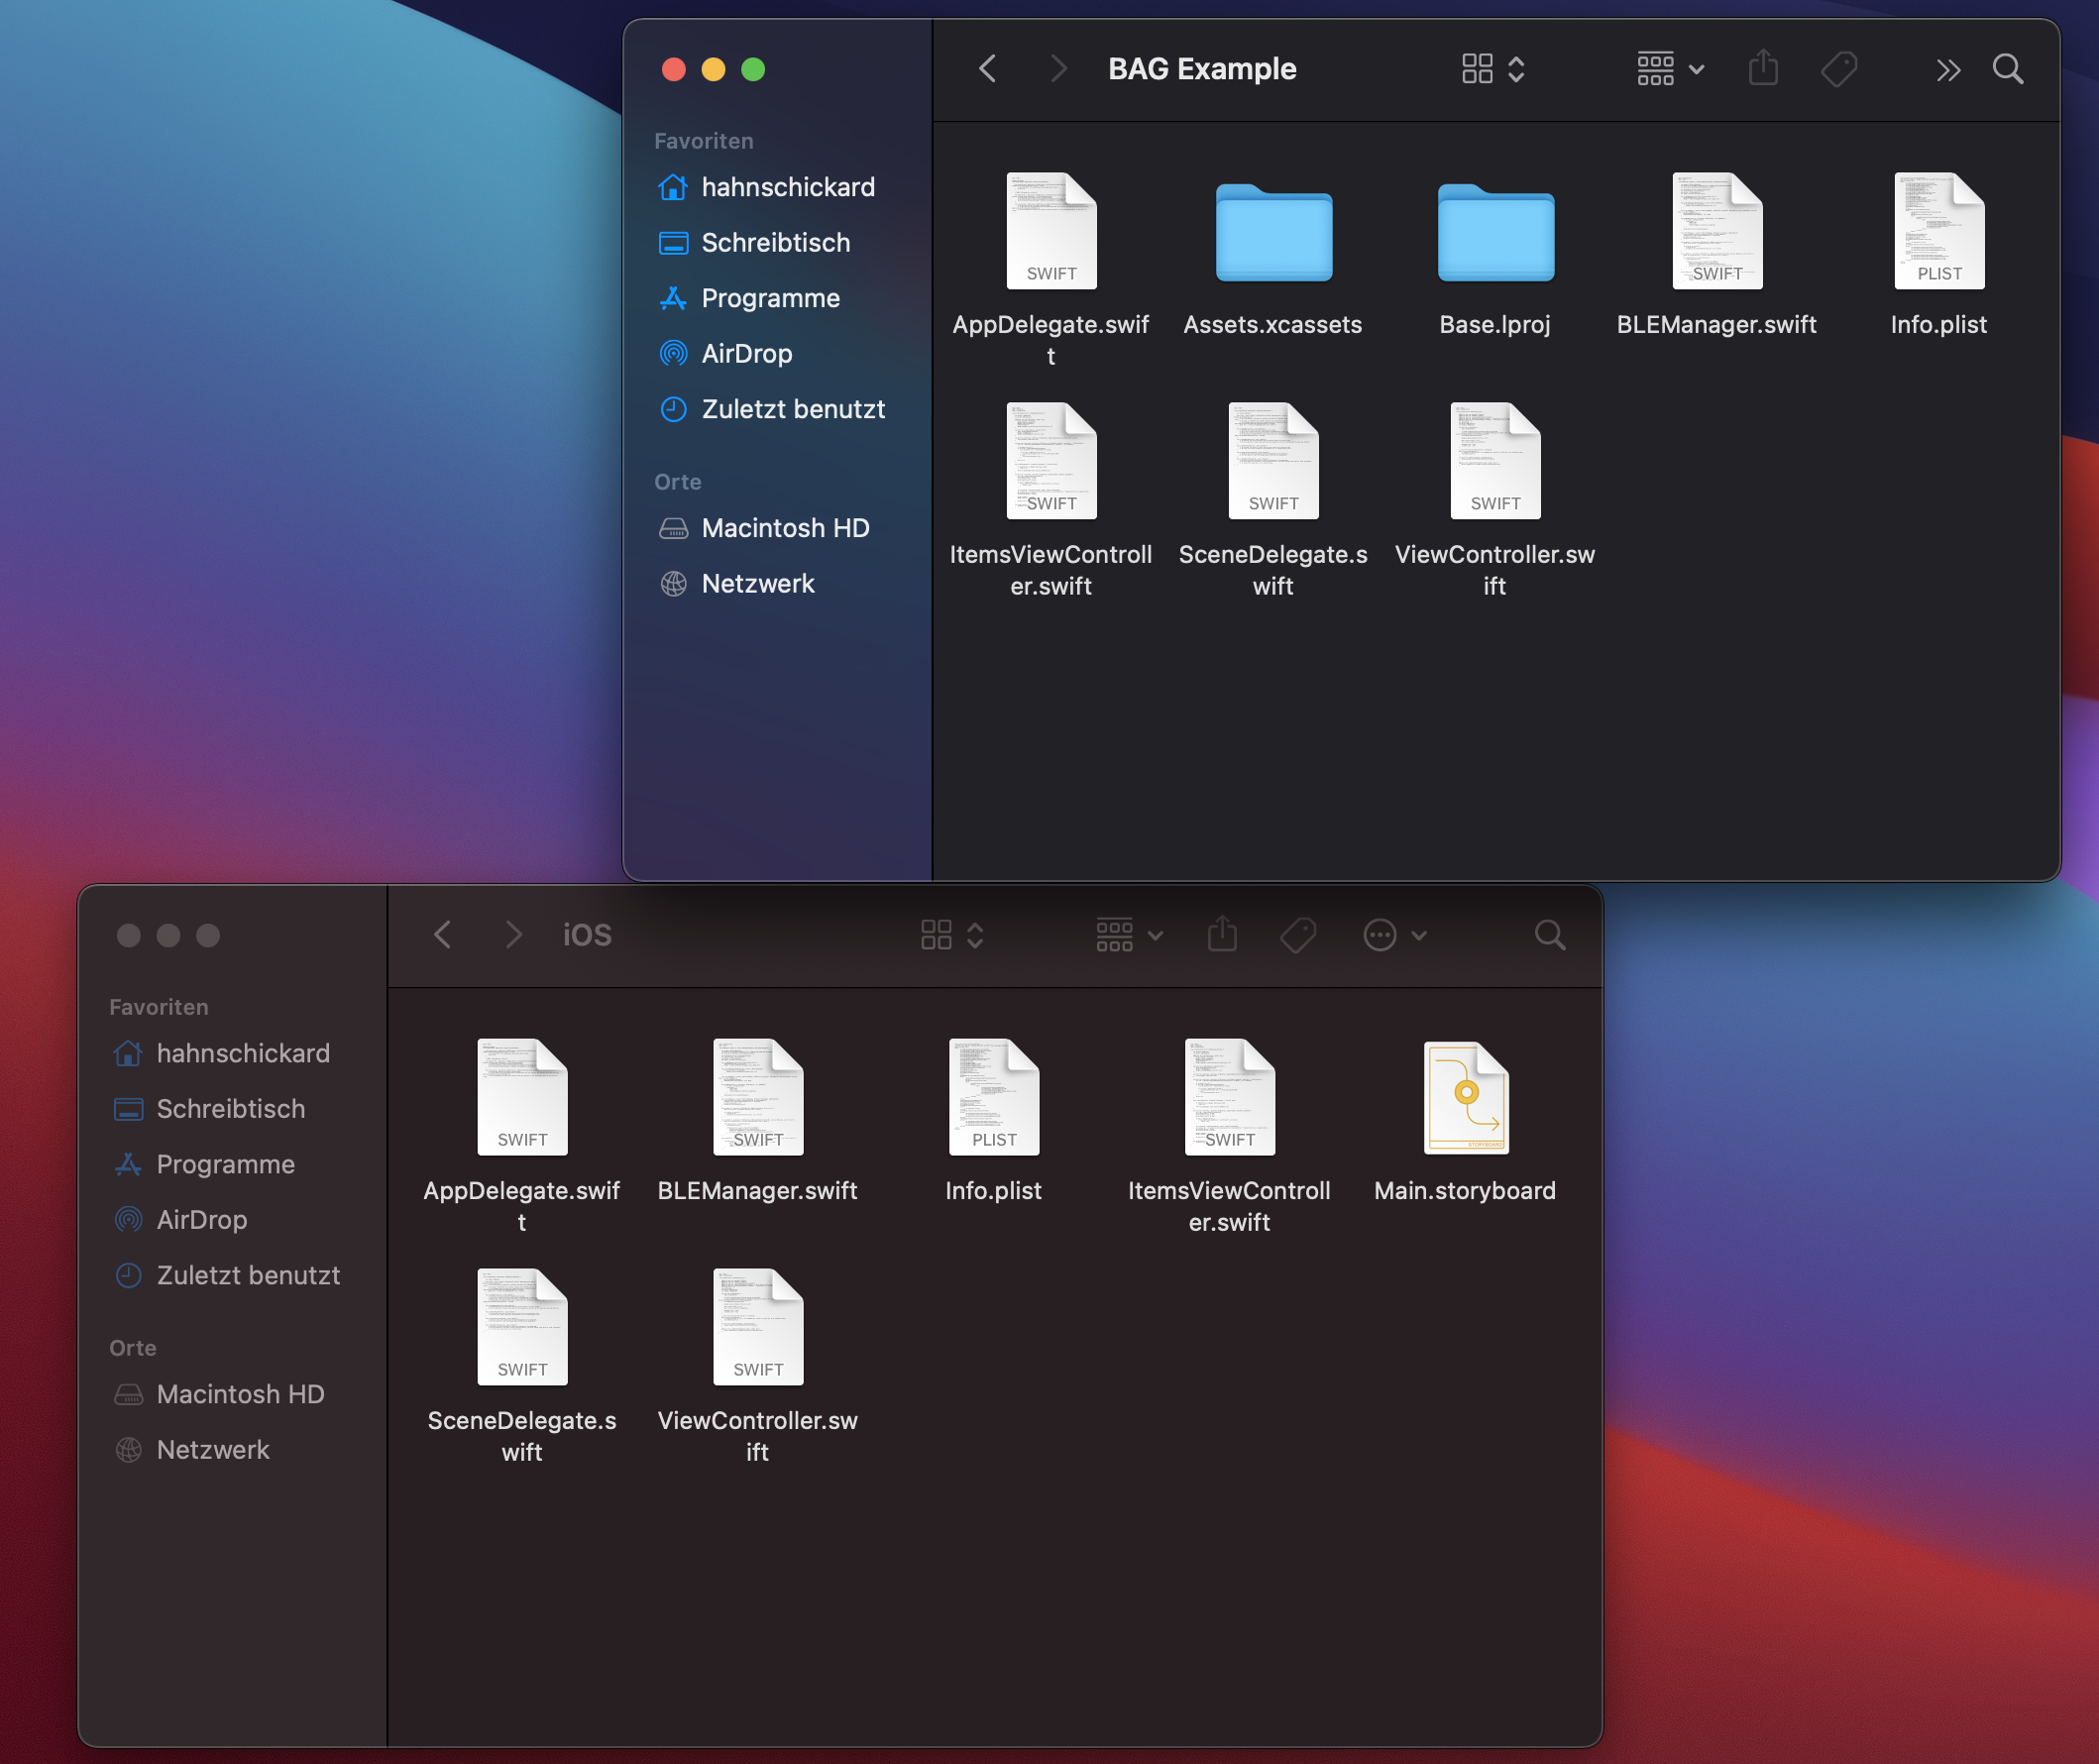
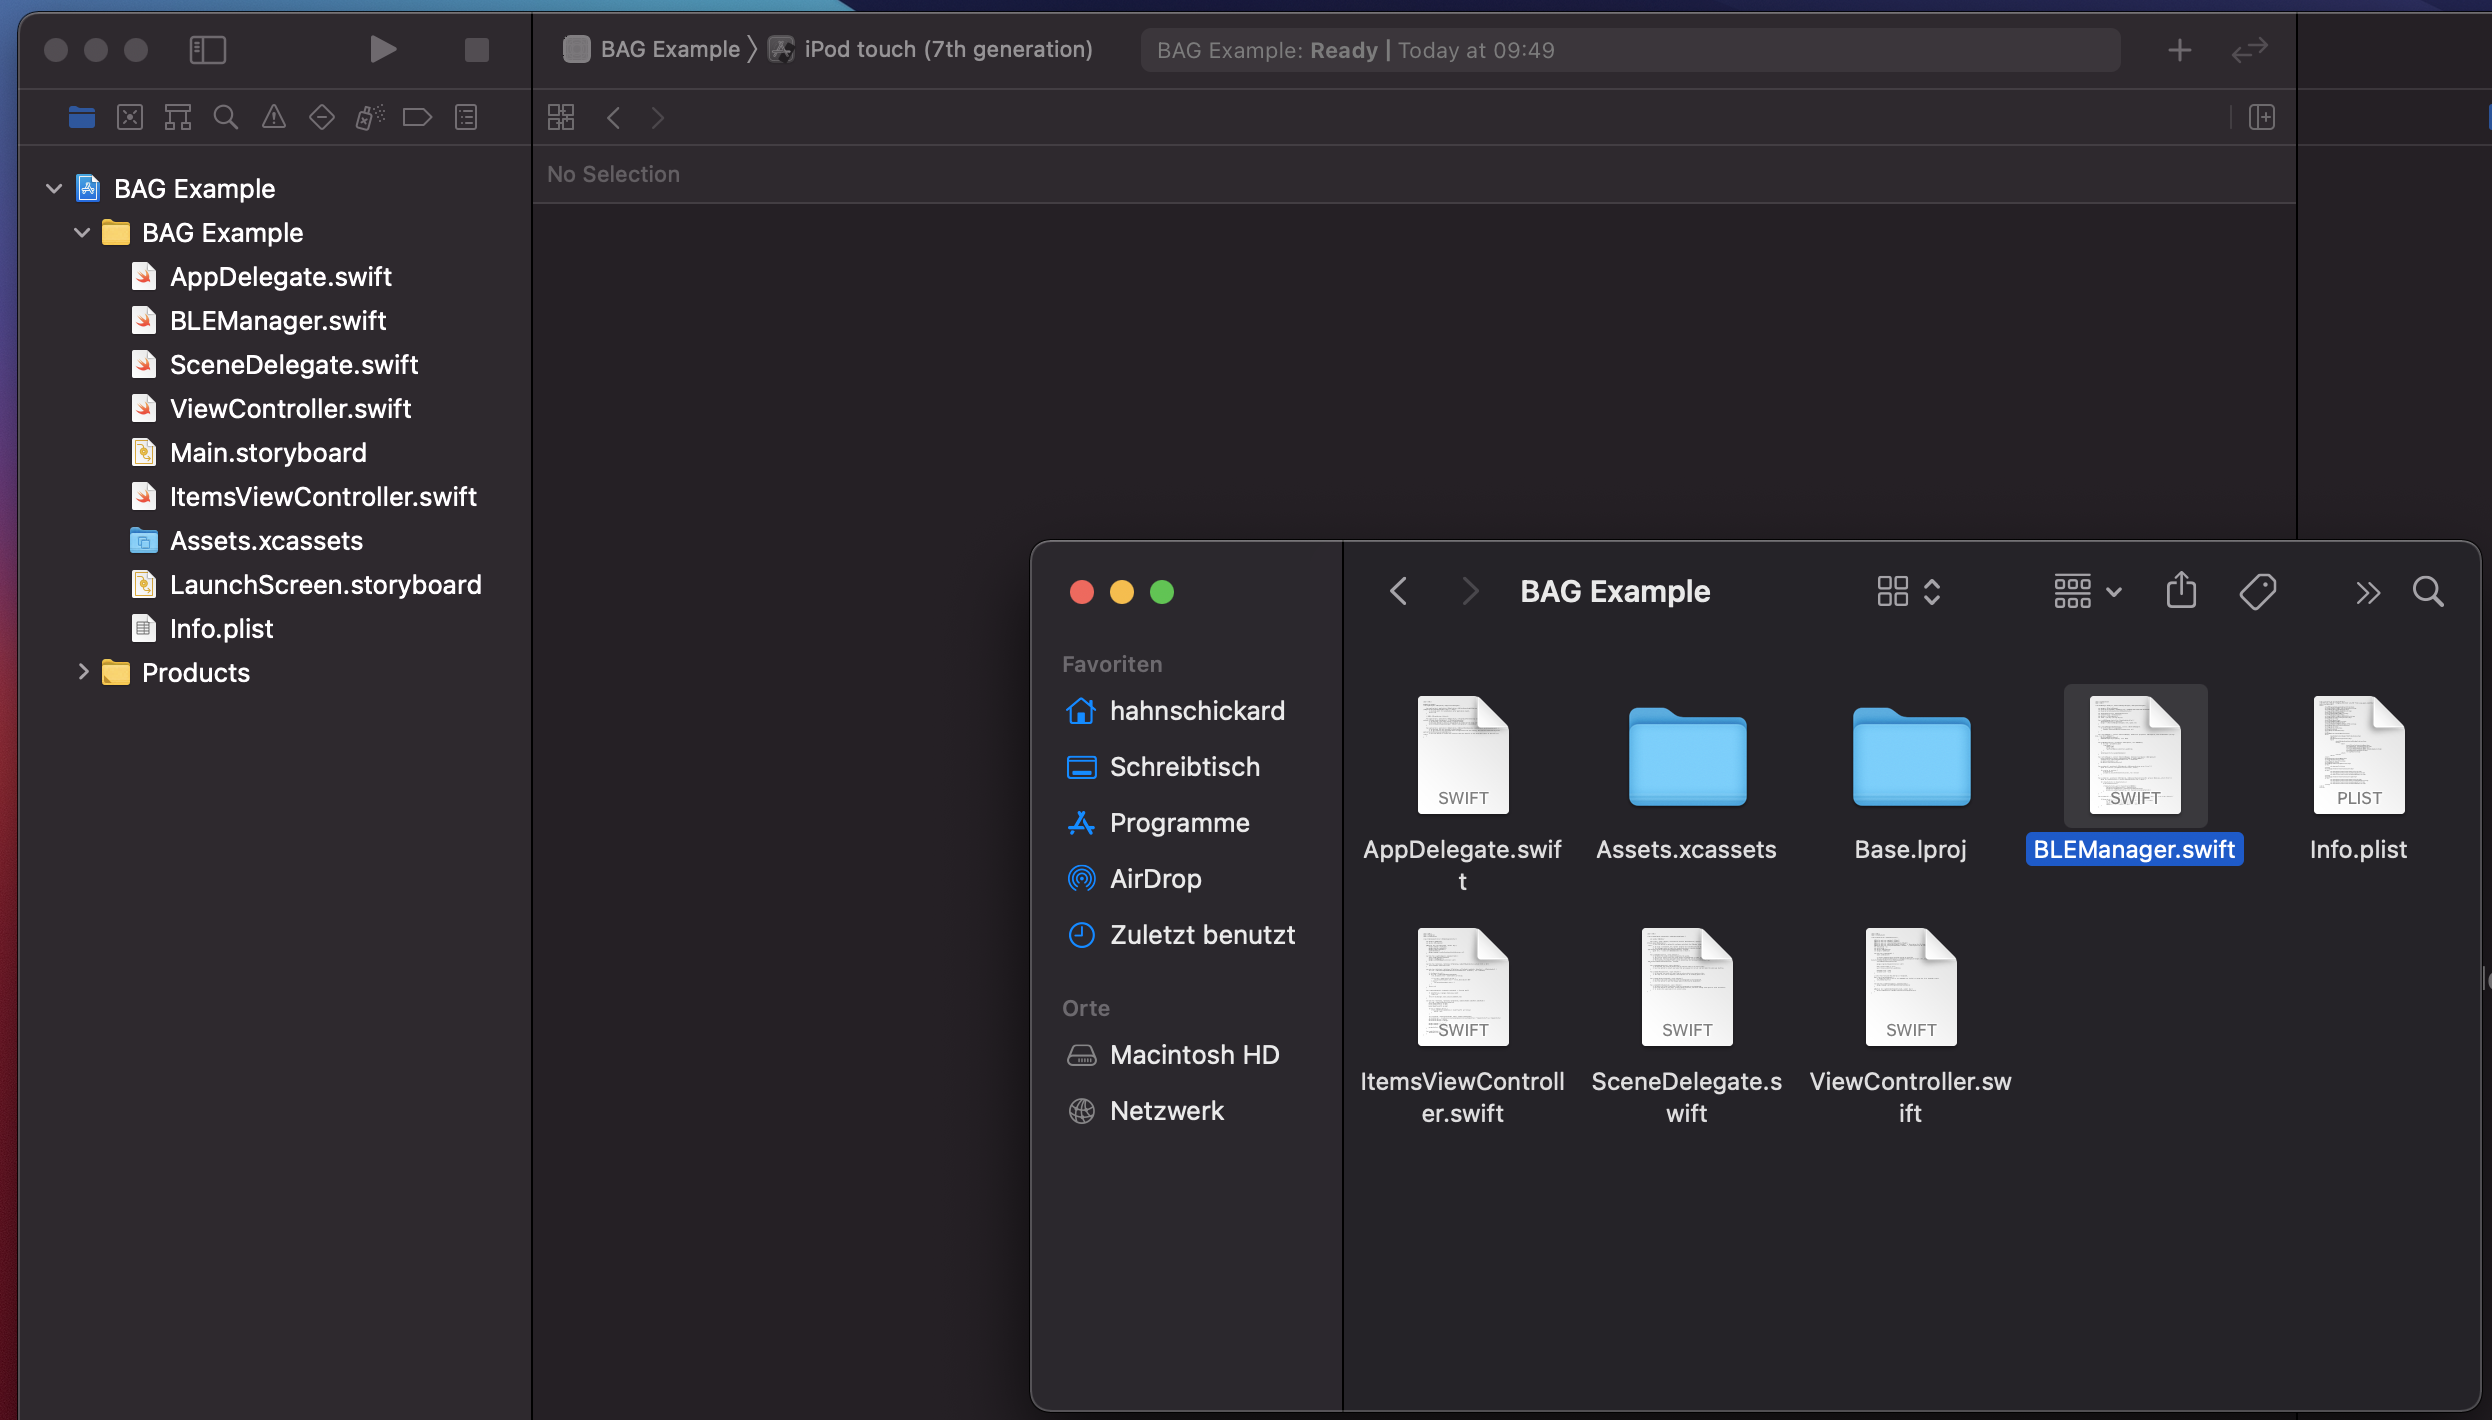
- Reopen the project inside Xcode. The replaced files are now updated inside the IDE. The newly added files like BLEManager.swift are not automatically added inside the IDE. Therefore you need to add them manually via the Finder out of the project folder by drag and drop
- Now you can search for the defined TODO statements and edit the one in the didUpdateValueFor method inside the BLEManager.swift to the following
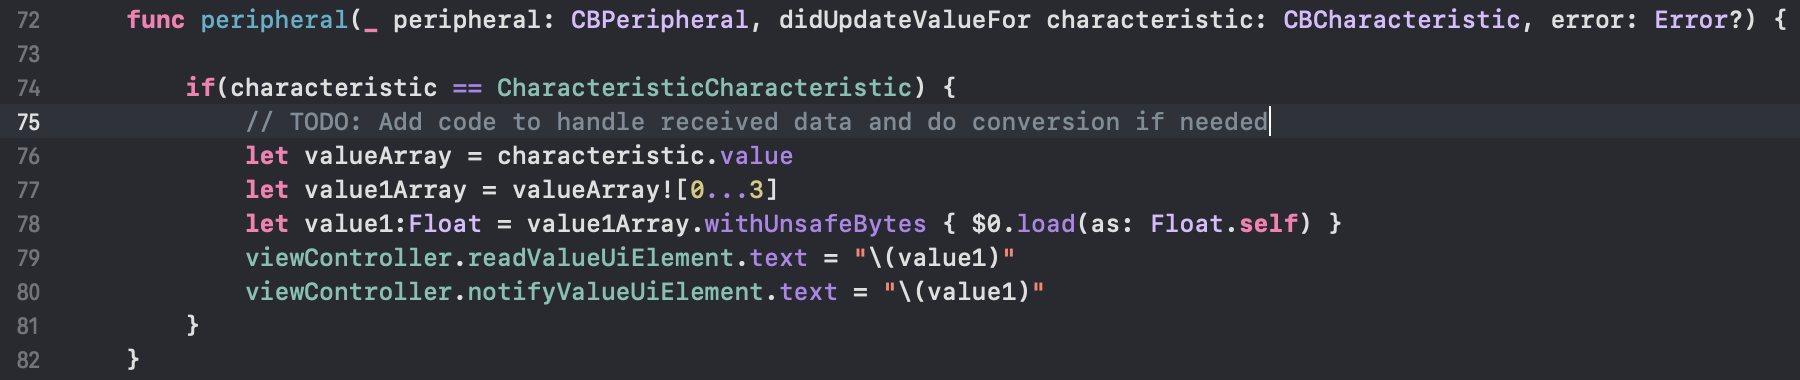
- Connect your mobile device and run the application on it
The application will start with the Devices view. In this view the application search for nearby BLE devices and lists them in the displayed list
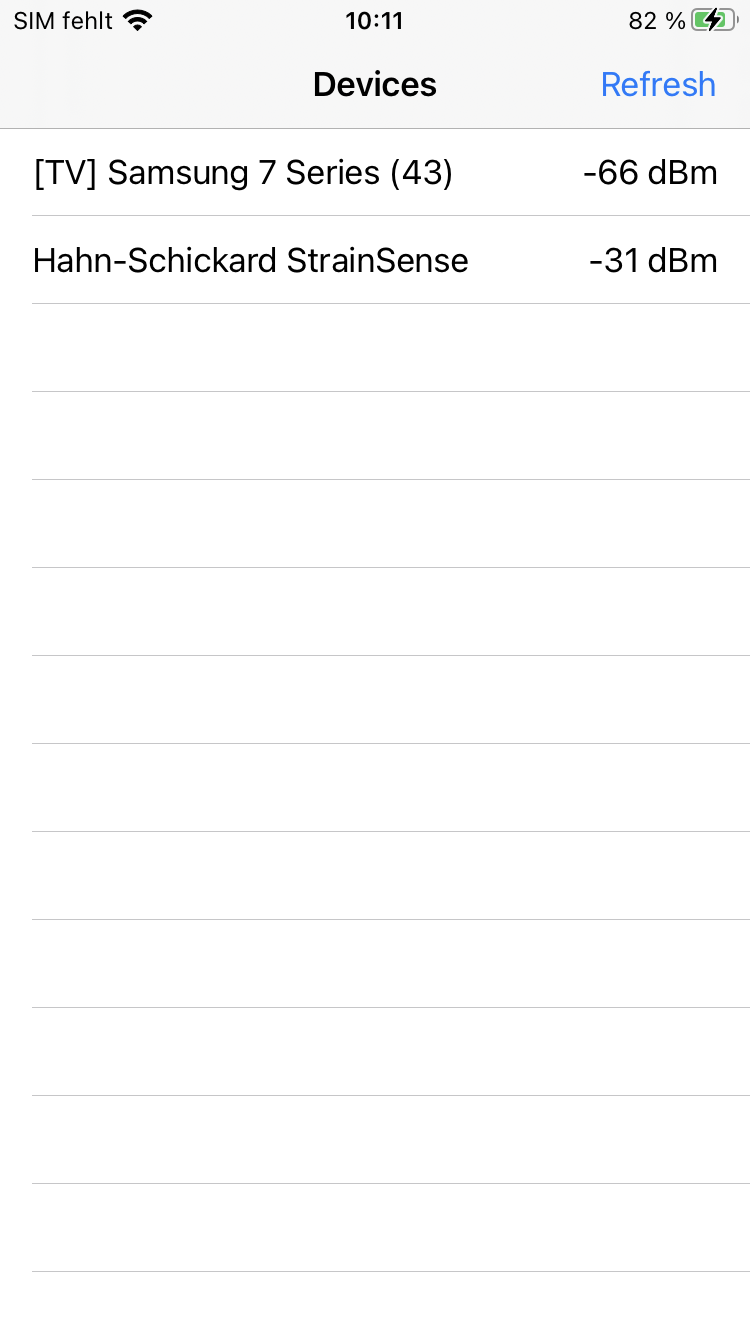
By clicking on one of the entries the application will start the connection progress with the selected device and switches to the main view
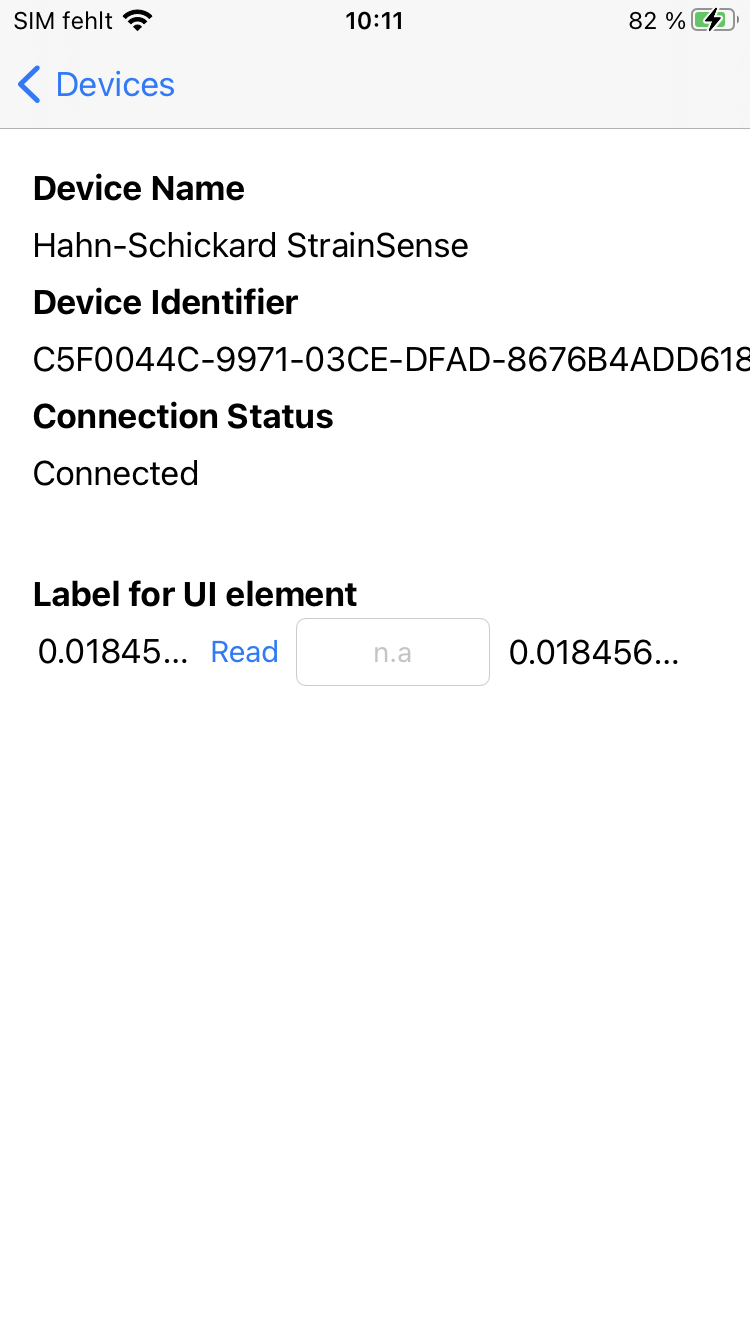
This view has exactly the same functionality like the main view of the Android application.
Now you have also an working iOS application ready to interact and communicate with your BLE device.